Showing posts with label vintage sheets. Show all posts

3.3.14

a pretty fabric covered notice board


I have been having fun with vintage fabric and cork boards.
This has been on my so easy craft list for ages!
how to prettify a corner of your life.

I used the cork boards available from here. It's a smallish size which can easily be covered by less than a fat quarter of fabric, so take your pick from the vast array of pretty fabrics out there. It can easily be changed, which is also nice. I like these boards because the fabric can tuck right over the edge without a frame to deal with.
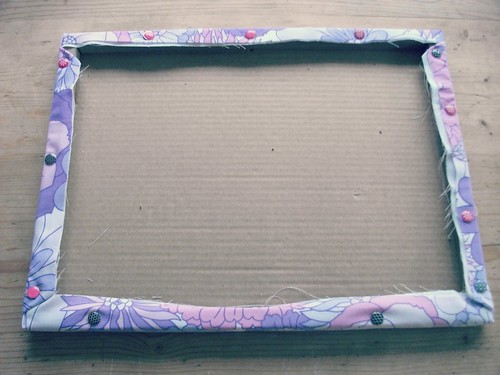

Cut the fabric to fit the board. I used an extra layer of white cotton underneath. Now just smooth the fabric over as if you were making up a bed! Tuck in the corners like a parcel. Best not to leave them too bulky. I fixed my fabric on with drawing pins also from the same place. If you have a staple gun you could use that.
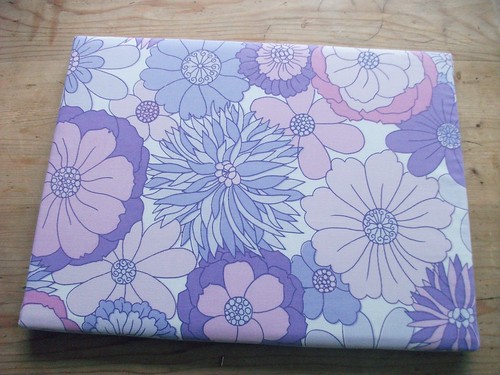

Aim for a nice smooth finish.
Stand back and admire your new notice board!

Photo taken at Glastonbury about 1995!
Attach momentos. The board are thin, so best for display rather than changing every day.
Pop a nail in the wall and bobs your uncle!


The notice board is soon covered, but looking a whole lot prettier.
De-clutter your work space.
My new corner!


That feels much better.
Onto another lovely screen saver from here.
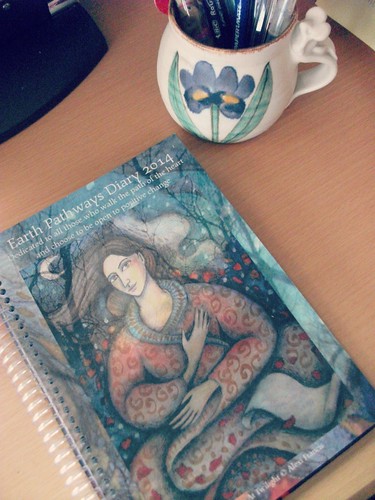
  
Enjoying my Earth Pathways diary from here. The cup is cute. It belonged to my Mum. I love the mouse handle.

Of course I didn't just stop at one!
Oh no.
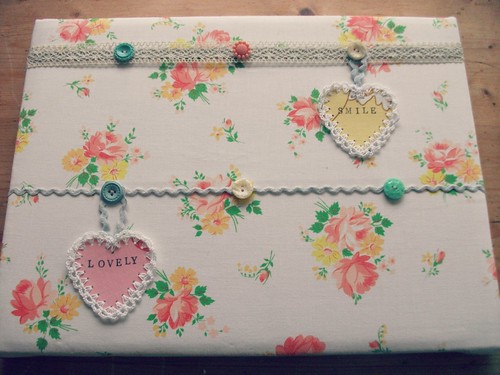
This one is for my jewellery.
I stitched on vintage buttons to some ribbons, and attached these with drawing pins, in the same way as before. Very simple. With hindsight you are probably best to stagger the buttons, so you can hang necklaces, bracelets and earings quite easily.


Amazingly this board was exactly the right size to fit an old frame I have been holding on to! I painted it first with some left over paint.


Did a clever trick with some small nails around the edge to hold the board to the frame. I used the string already on the frame to hang the board and et viola!


I'm enjoying this in my room. It's nice to hang keepsakes that might otherwise be away in a box and enjoy seeing them.

The 'love who you are' garland will be available in my shop just as soon as I've listed it.

I hope you have enjoyed this post. I enjoyed making them. I hope you do too.

♥♥♥

17.5.13

creative makings

This week I have been bitten by the sewing bug. The need to sew and stitch had been coming on for quite some time. I was reading Mollie makes. An interview with Dutch designer Marieke Voorsluijs of Club Geluk, where she shared her top decorating tip, "don't think about it - just make it,"  was enough to topple me into action.


I would make a quilt, not a big and complicated quilt, but a smaller, more random one where I could experiment with what would be my first quilt, and how it all goes together. 


Started the evening before in my craft room, and then moved into a sunny spot in the living room to continue the next day. There I discovered there is nothing nicer than stitching together pretty pieces of vintage sheets, in the sunshine, with the doors open, and the sounds of birdsong wafting in!


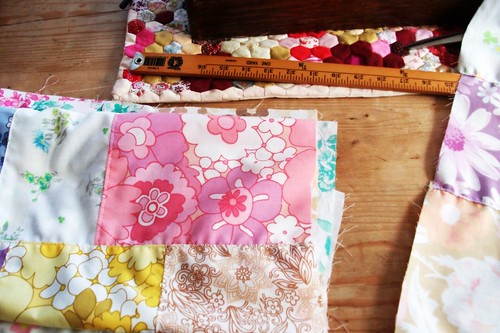
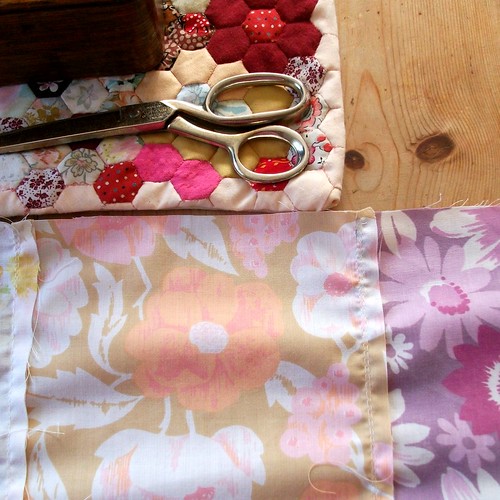
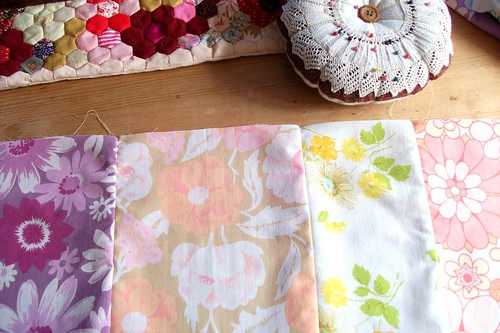
First I made panels, very randomly. Mainly by eye and without a cutting mat or rotary cutter, so matching up squares was not really likely!  In my mind I had the idea of french seams. So after stitching and pressing, I turned over my panels and stitched them on top.


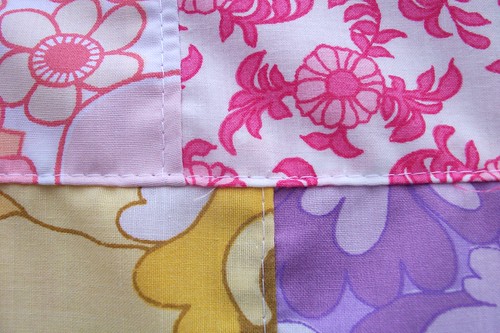
I top stitched above the pressed seam. Now in my mind this may be a french seam, but I can't swear on that! It may be that the seams need to be pressed open and stitched on both sides. Or possibly top-stitching isn't necessary at all. 


Anyway, after ensuring my seams weren't likely to come apart ever.


Each panel was then pinned, stitched and ironed together and the new joining seam was top-stitched. Miss trissie worked hard and was companionable. That is until I tried to short cut on filling up the bobbin and a rather rightious jam occured. Technical skills were needed together with a butter knife and a pair tweezers and say no more. Short cuts don't work, mainly.......     


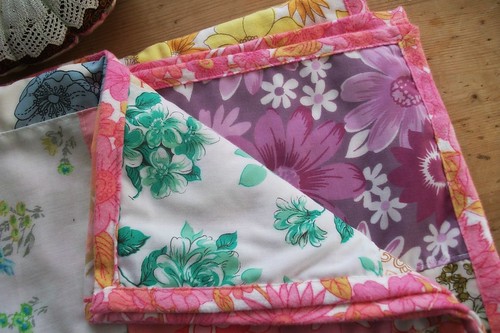
I backed the quilt with a very pretty and soft terry fabric. I'm happy to have found something to use this for, because it really rather lovely. I folded the edges over and under to make the bias binding and you guessed it, top stitched around this, securing it nice and dandy. I won't mention the corners other than to say there is definitely a corner trick I really want to learn! The idea for using the backing material for the bias binding came from the lovely, and colourful, Lisa, of mrsbobobun on her post here. She makes me want to sew.


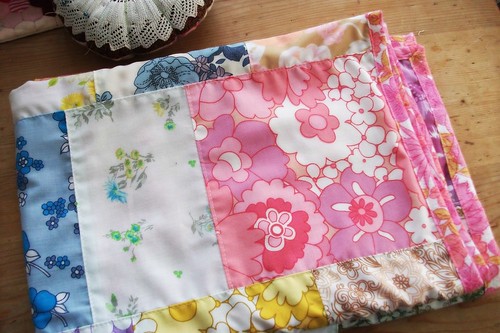
and sew I did. Here she is, done and dusted. Or should I say stitched and pretty.


Ready to?...... well, I'm not really sure. She measures 80cm x 120cm. Maybe a small throw, or a little something for somewhere. She will find her place.


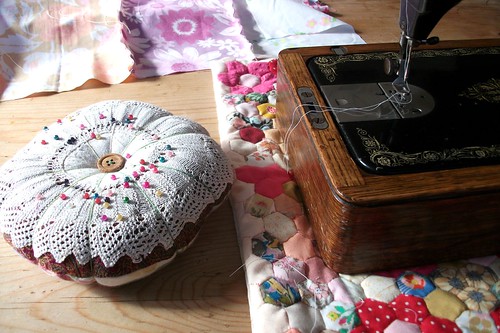
I discovered that I love my pin cushion brought a few years ago at a craft market. It's big, which makes it nice to use. It can always be found.

I discovered that using a pretty mini quilt, also from a craft market, under miss trissie helps her to slide easily around on the table as we cavort.

I discovered that using my material cutting scissors for cutting up dog chews in the kitchen, wasn't a good idea. And that my Mum's lovely gold, vintage scissors need sharpening. How do I do this?

And just maybe a purchase of a cutting mat and rotary cutter might be considered. 

I also love the perfumey smell of the vintage sheets when they're being ironed. A little strange perhaps but it reminds me of all the towels and sheets in my Mum's linen cupboard! 


and it's been so nice to use my vintage fabric and actually work with it. I think a cushion might be next.

I have been pinning lots of vintage sheet inspiration here. Feel free to have a look. Right now there's a lawn that needs mowing!

Are you trying any new crafts lately?
hope you have a lovely day,

Heather
X


25.11.12

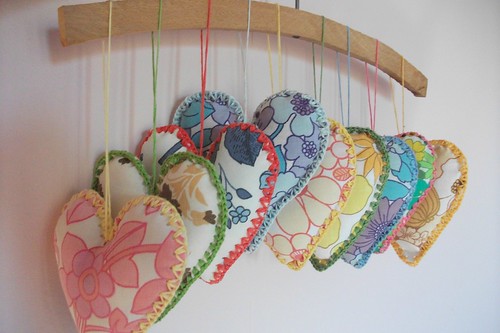
Hearts from vintage sheets


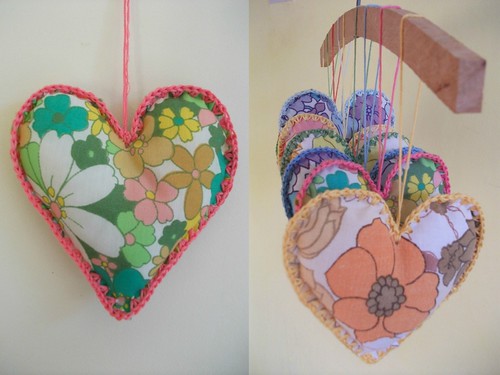
I just love these. I starting making them about this time last year, and now I have re-discovered them again.

I first saw these over on Sonjas beautiful blog Det bla huset. Sonja is really the queen of these hearts, and you can see them on her header picture.

She lives in a blue house next to one of Norways amazing fjords, where she creates some lovely things.


What you will need :-

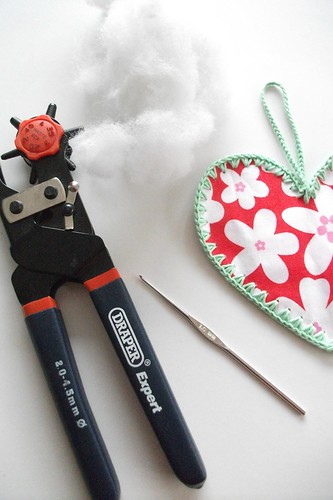
A useful tool is one of these leather punches, I think possibly the holes could be made with something else, but it might be tricky. I got this one from amazon and used it on the number 2 setting.

A small 1.5 crochet hook and some embroidery floss.

A heart shape cardboard stencil.

Wool stuffing.


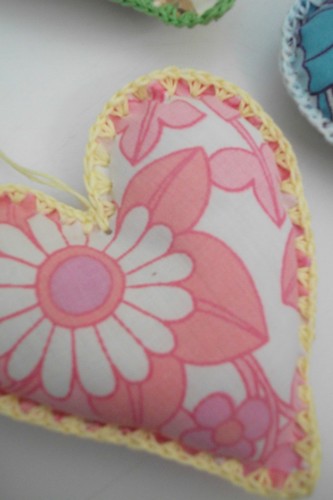
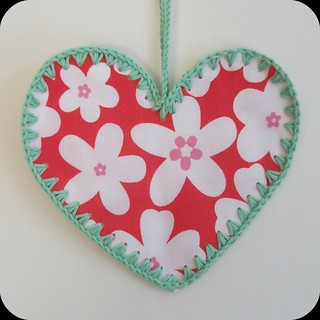
Once you have cut out the fabric and punched the holes at regular intervals, you can crochet around the edge. Here you can see 2 double crochet (UK) in each hole.

Starting at the top of the heart crochet around until about 2 inches before finishing. Push in the wool using a large crochet hook and shape.

Then finish the crochet and continue into making a loop for hanging.


There is a little bit of a fiddle factor to these! I think they look good when they are nice and plump.

Sonja has a tutorial here. She also uses an iron on fabric before cutting out the hearts and they do look wonderfully neat! You can see some more of her creations here, here and here.


I am tempted to add all kinds of granny chic bling to them, but haven't yet! 

They also look nice made flat, without the stuffing. Perhaps using coloured card or old christmas cards.


I most definitely want to try crocheting around some vintage wallpaper! I'm thinking gift tags or hanging cards......

.....just another little idea to add to the growing collection!

                                                                   ****************

Lastly, I am running a sale voucher in my etsy shop for 20% off until the last day of November. The code is NOVEMBERSALE. You will need to add this code at the check-out.

Have a good week. I will be catching up with you soon, I think it's time for a christmas give-away!

                                                                               xxx  

28.10.12

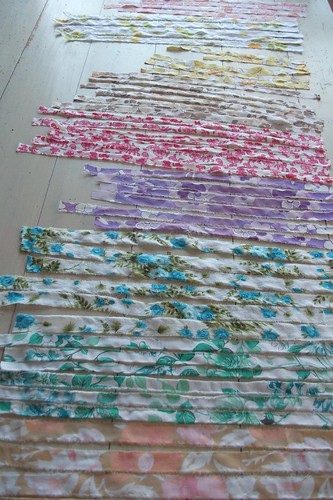
the one where these fabric strips


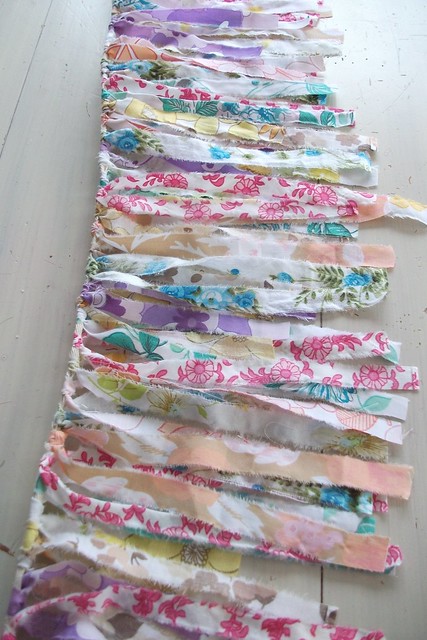
turn into this!


much delight and pleasure was gained from ripping these fabric strips! really you have to try it.

Make a small cut to begin the rip and then rip away. I wanted to make something colourful for my living room. It's still in need of jollying up. I have all these lovely vintage sheets and have been thinking about projects I can do with them.


You can attach the fabric in several different ways. I tied mine as though I was beginning a bow. This creates a fuller, bouncy effect. You could also loop the strips through like this. This creates a flatter more uniform effect. Good for tieing around a pole or hoop.


Or use a branch..... a beautiful wavy branch, would be a lovely rustic touch. Especially at a wedding or over a table. You could even paint the branch. I will have to look out for some nice branches while out on my wonderings.....


Just think how nice this might be for a celebration or birthday, strung across the room, perhaps with really long strips. Or satins and silks or lace. The possibilities are endless! Have a look here, here and here. And have a look a this for a great fringe and canopy idea. I like the way the lights have been added too. So pretty, could be a lot of fun in a children's room. Or mine!


2.9.12

prayer flags from vintage sheets!


yesterdays hour.
that's all I had,
one hour before I had to pick up my son,
it's so rare to have anytime at home alone at the moment.
I knew I had to go and make something in my craft room,
I had to use the sewing machine!
something small and simple had to made....
what to do?
this was my simple answer!
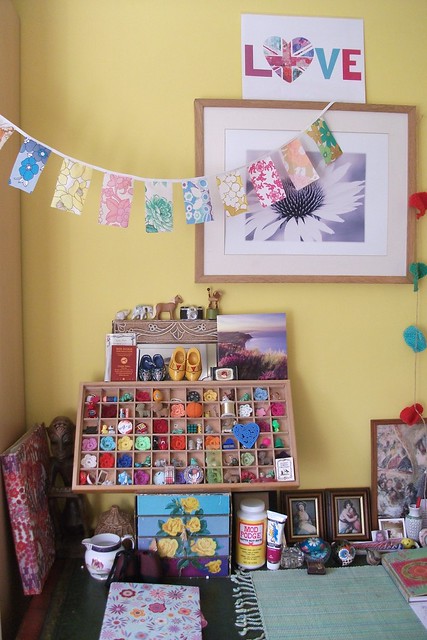
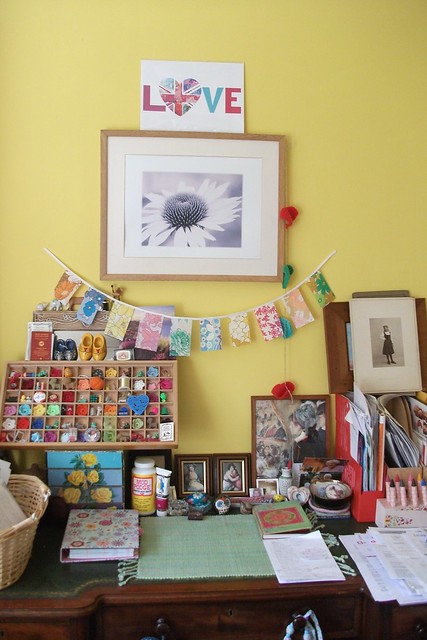
a very easy mini bunting,
hanging in the sunny window,
helping me feel happy and grateful for the time spent making,
it really is therapy this crafting that we do.......
cheaper too.....!


I tried hanging it different places,
but I liked the light through the window best.


the lovely desk belonged to my mum,
as did a lot of the things around,
I like having them about.


this summer I tided my craft room,
and when I say tided,
I mean I moved my piles around.......!
I imagine a sleek, de-cluttered space,
but I'm actually quite fond of my things and how it's all landed,
 without much thought,
and I've always had collections of bits and bobs!

so I'm enjoying my prayer flags.
needing to stay hopeful about the return to school.
a difficult issue for us......
it may mark the beginning of lots of making and crafting,
if all works out.
I'm hoping this new school will work for us,
if not, we will find another way that does,
and the making and crafting will have to work around that!
but we won't know unless we try.....

hope you are doing something nice today,